


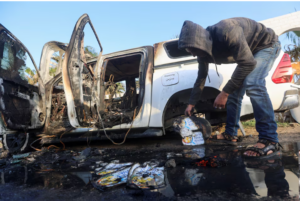


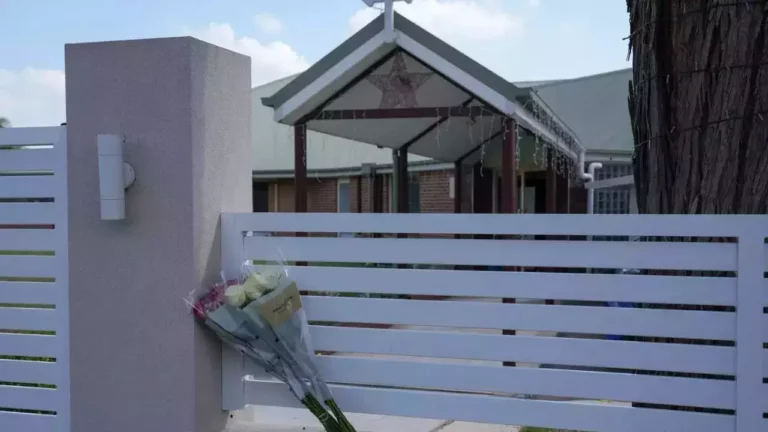
Australian police charge five teenagers in Sydney cleric’s stabbing
(Reuters) - Australian police said on Thursday they charged five teenagers with terrorism-related offences in investigations following the stabbing of an Assyrian Christian bishop while...
China harbors ship tied to North Korea-Russia arms transfers, satellite images show
(Reuters) - China is providing moorage for a U.S.-sanctioned Russian cargo ship implicated in North Korean arms transfers to Russia, according to satellite images obtained...
US to effectively ban TikTok – Senate passes bill and sends to president
On the night of the 23rd, the U.S. Senate held a sell the U.S. business of the video-sharing app TikTok. It received bipartisan support from lawmakers concerned...

B.C. wildfire season off to early start with more than 100 already burning
Wildfire season is off to an early start in British Columbia’s central Interior and Cariboo regions, with at least one fire listed as out of...

Nasu 2 bodies, 25-year-old man’s DNA found in female victim’s car trunk…Adhesive tape and cable ties inside the car
In the case where the bodies of a man and a woman were found on a riverbed in Nasu Town, Tochigi Prefecture, bloodstains found in...

India to test MDH, Everest spices for cancer-causing pesticide, source says
(Reuters) - India's food safety regulator will conduct quality checks on products of popular Indian spice brands MDH and Everest Group after Hong Kong banned...

Malaysian navy helicopters collide in mid-air, 10 killed
(Reuters) - Two Malaysian navy helicopters collided in mid-air during a rehearsal for a naval parade on Tuesday, killing all 10 crew members aboard, the...
Ukraine launches military charm offensive as conscription flags
(Reuters) - Far from the trenches, at orderly new centres across Ukraine, civilian recruiters armed with laptops and info packs offer patriotic volunteers opportunities to...

China acquired recently banned Nvidia chips in Super Micro, Dell servers, tenders show
(Reuters) - Chinese universities and research institutes recently obtained high-end Nvidia artificial intelligence chips through resellers, despite the U.S. widening a ban last year on the...

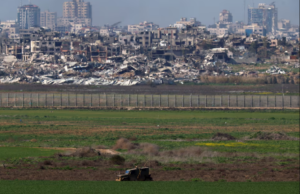
Thailand says it has asked Myanmar junta to reduce violence
(Reuters) - Thailand has sent messages to Myanmar's junta to reduce violence, its foreign minister said on Friday, adding preparations are underway for an influx...